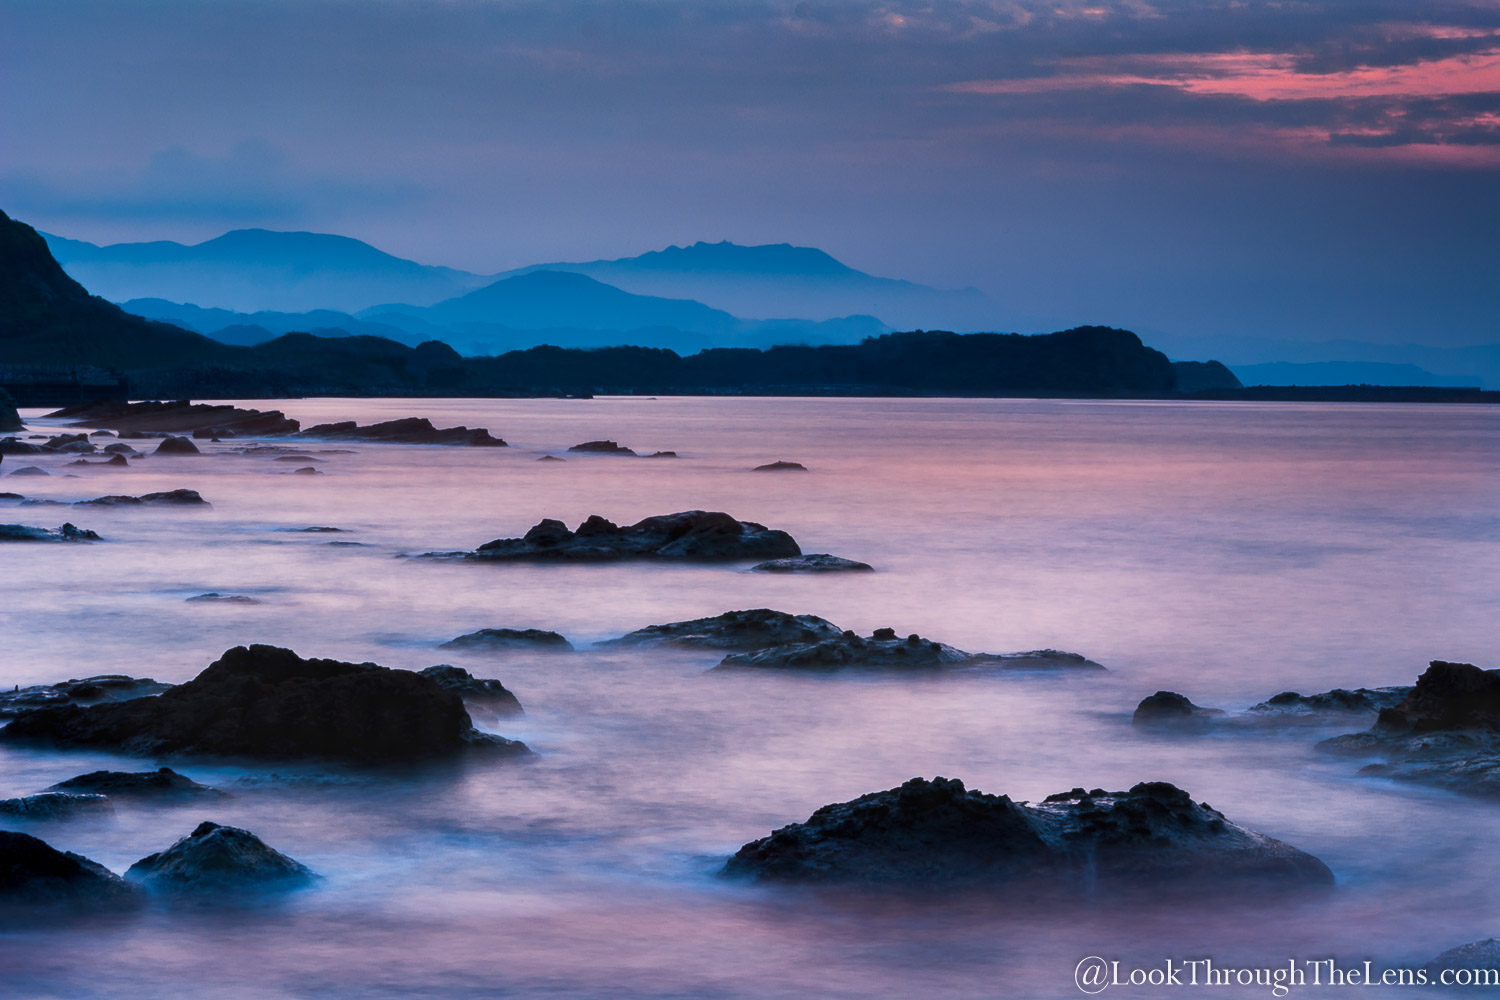
I’ve been journaling for a while on this blog, trying to teach and learn from friends, photographers, Youtube, etc… so I would like to share the journey of this image from my camera to exhibition.
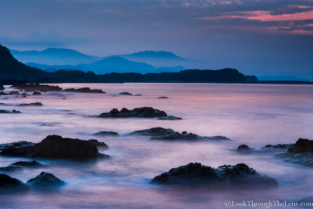
We visited Keelung where my wife went off to explore on her own. I stopped to take a whole batch of long exposures of the bay. Since then, I’ve been editing one image from the series. We were in kind of a hurry, so with the long exposures, I wasn’t able to wait until the sun actually went down further.
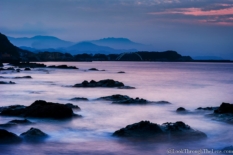
Round 1: Lightroom Healing Tool – Hello!
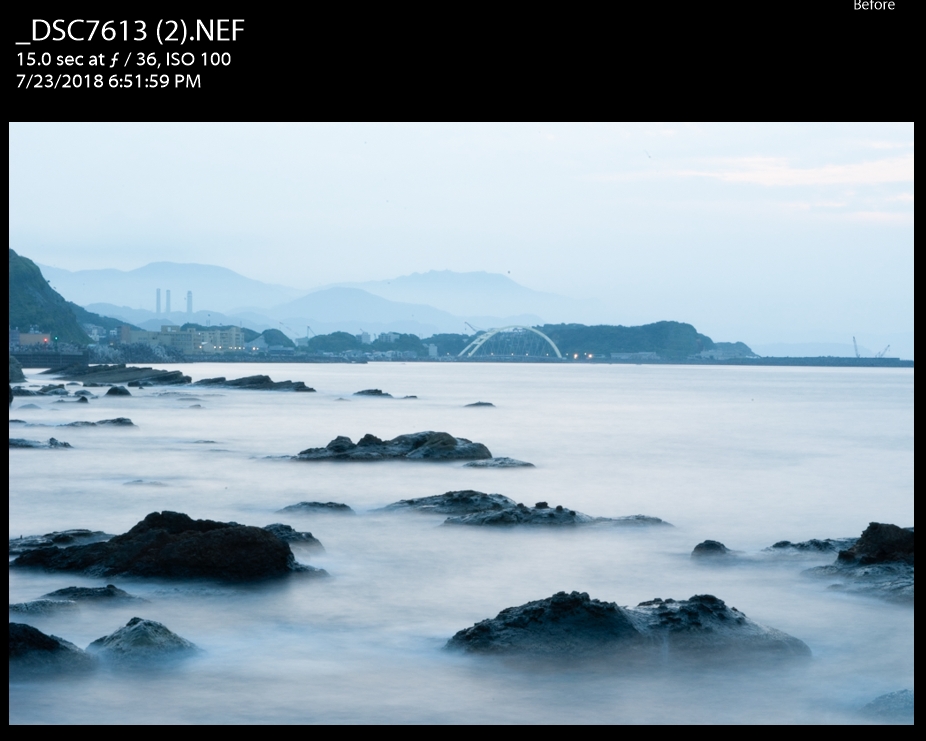
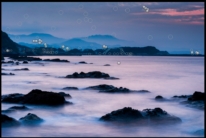
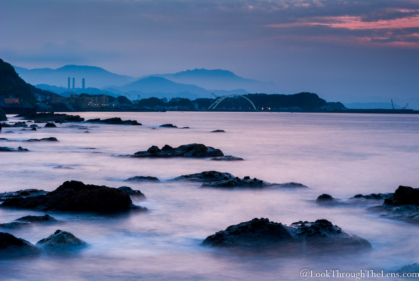
Anyways, the 2nd image is after using the White Balance Tools that Kenny Paul taught me. I included a lot of work on the colors, cropping, and already over 20 spot removals. So this image is where I was able to learn and deploy this skillset.
After an informative and pleasant lunch with Patrice Delmotte last Monday, we went over some of the images for the exhibition. There he taught me how to use Photoshop to do some editing. He just made it look so easy with brushes, painting, dodging, etc. So…
I’ve continued working on the image up until I made a virtual copy in LR, and started Round 2 yesterday. However, I found that spotting/healing was just much easier in LR than in PS. I think I was able to do pretty much the same. The only trick I learned while doing it was to work on small areas first, if the spot/mark was larger. Then layer on as much as possible the healing marks to blend the background more.
Round 2: Lightroom Healing Tool – Tidying Up!
Right now, I’ve still to work on the bridge. Patrice removed the bridge entirely. I have yet to do so, because I will need to do it in PS. It’s too complicated and unreliable for such a large edit. I will try again in LR, but if the effect is too awkward… it’s PS! Anyway, here’s where it’s at right now.
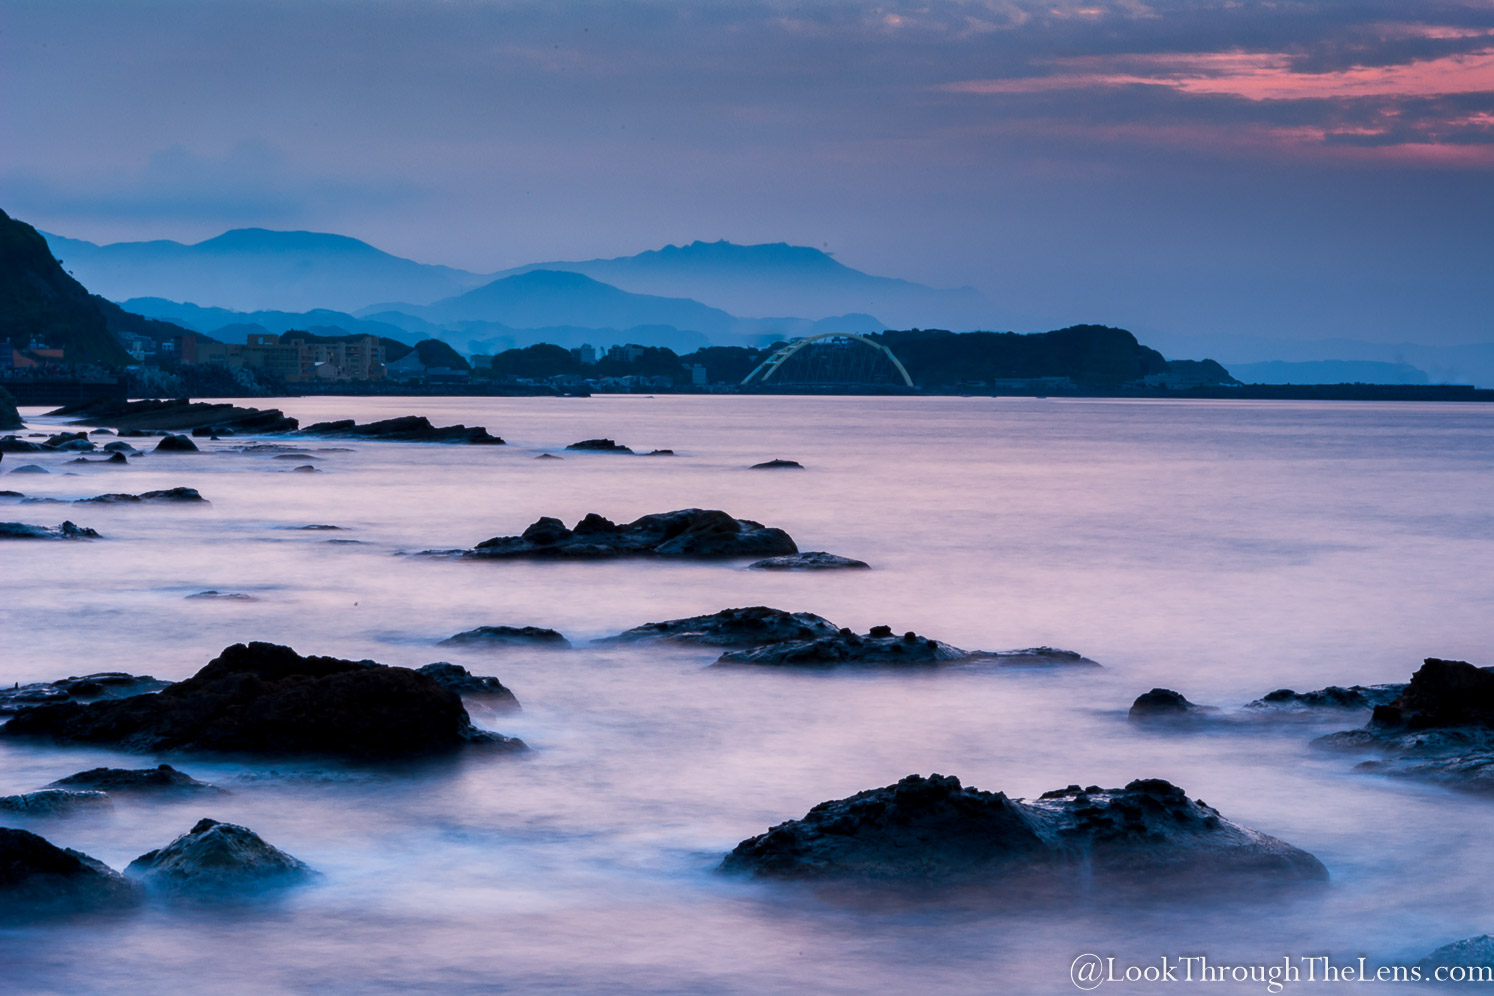
Round 3: LR Healing Maxed Out! Hello, Photoshop!
After messing about with dozens of those healing marks in LR, I decided my PC just can’t handle the work. At only 8GB with an 8GB ReadyBoost card, it is maxed out even when trying only a one catalog file! The other aspect that I noted: I lost a bunch of healing marks on the top left that I did in LR. For some reason they just disappeared, LR started showing the original image in its place. I saved the XMP file, but I still don’t know what happened.
So rather than use LR, I exported the file as a TIFF file at max settings. It resulted in a file of 57MB! I opened RawTherapee and realized I couldn’t understand the interface at all! Swiftly closed. I opened PS. I’m glad I switched over. Why? PS vs LR doesn’t pick up as many fuzzy spots (does anyone know why?). After yesterday’s session, I discovered the healing tool, the stamping tools… and I really should investigate the layers tools.
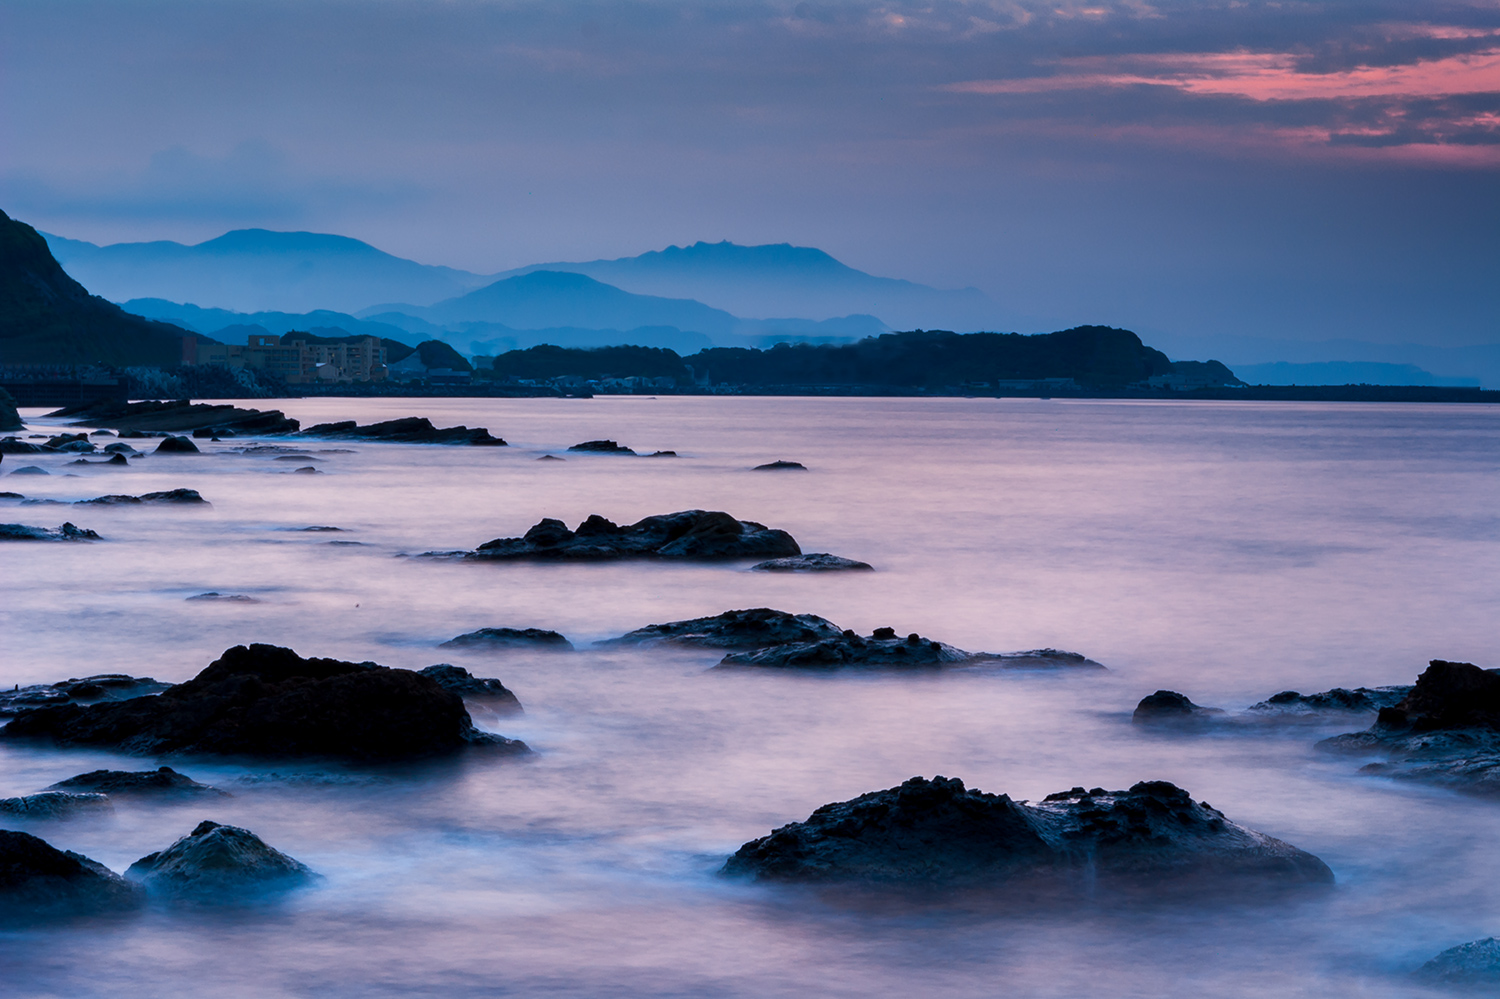
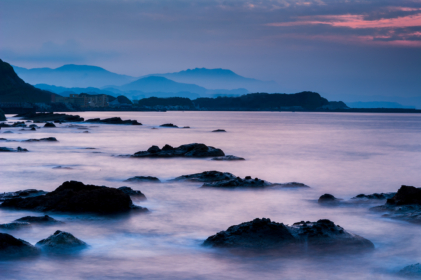
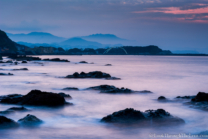
I managed to remove some of the ugly structures and/or blend them into the darker backgrounds. If you look you’ll see that the stamping is a little clumsy, so I have to tidy that area up a lot. Can you spot the other differences?
Round 4: Finally Stamped My Way Around Keelung
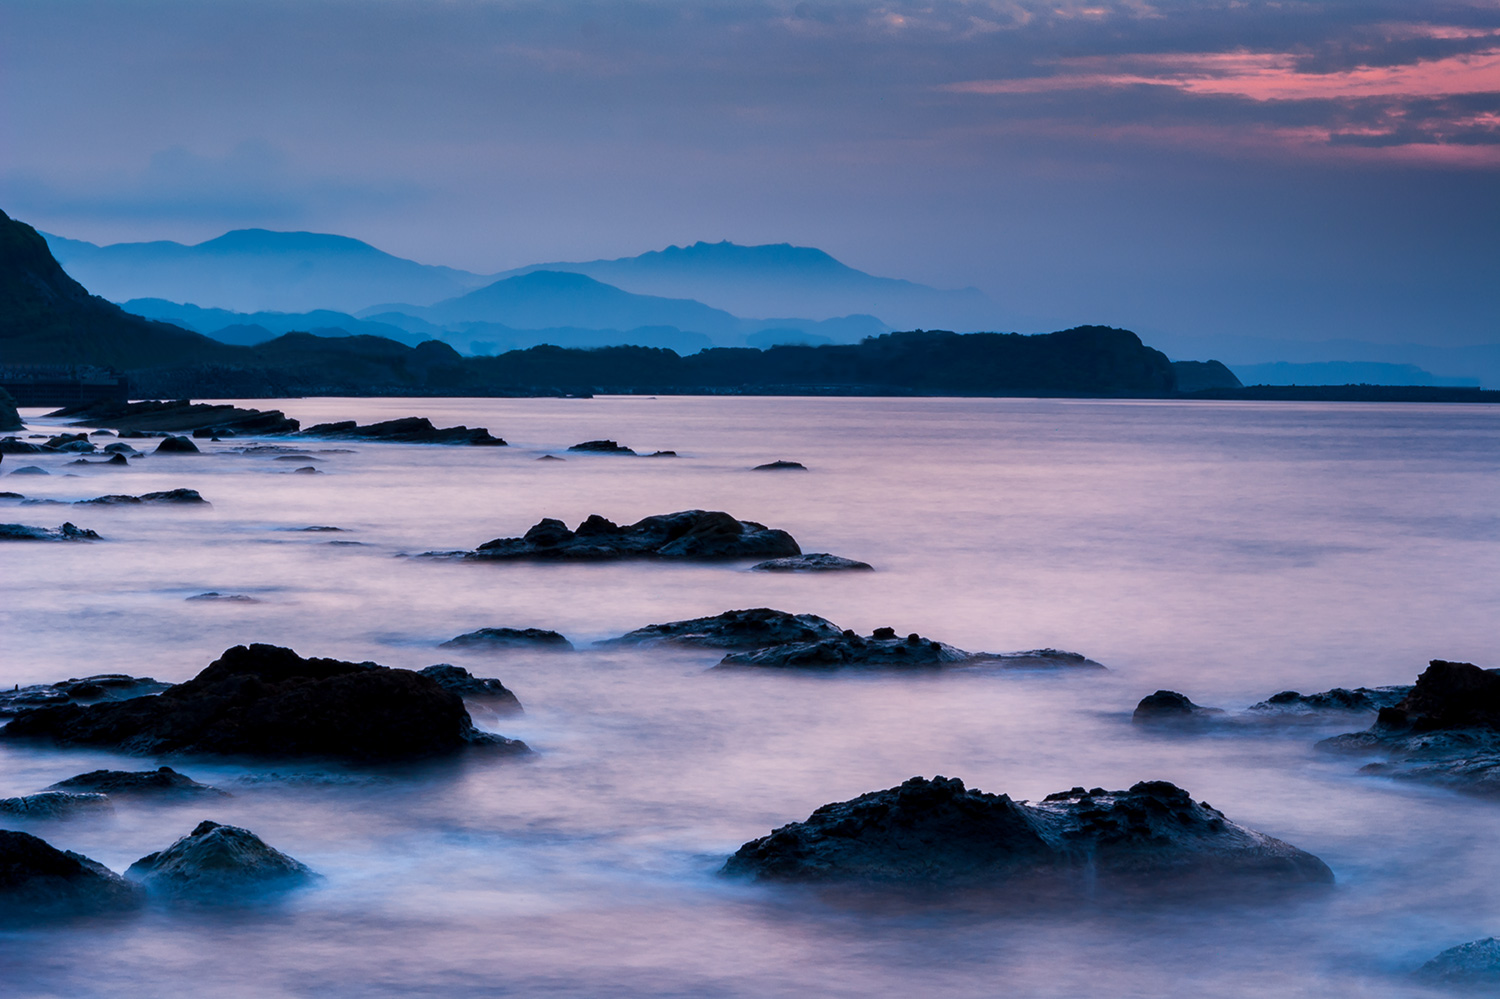
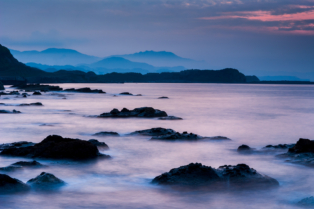
Round 5: Brushing It Up
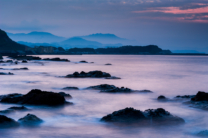
I finally made use of the brush tools but learned how to temper the settings so I’m not spraying a full load of color over the areas. I hope this edit isn’t too unsubtle. I played with the brush type, the load, hardness, and flow to get it right. Discovered that flow is probably the most important of the effects I needed. Flow…! I also painted a little white in the same fashion, and then had to edit the exposure in LR, since I have NO IDEA how to do that in PS.
